Why Full-Page Images in Print Books Break Most Manuscript Workflows
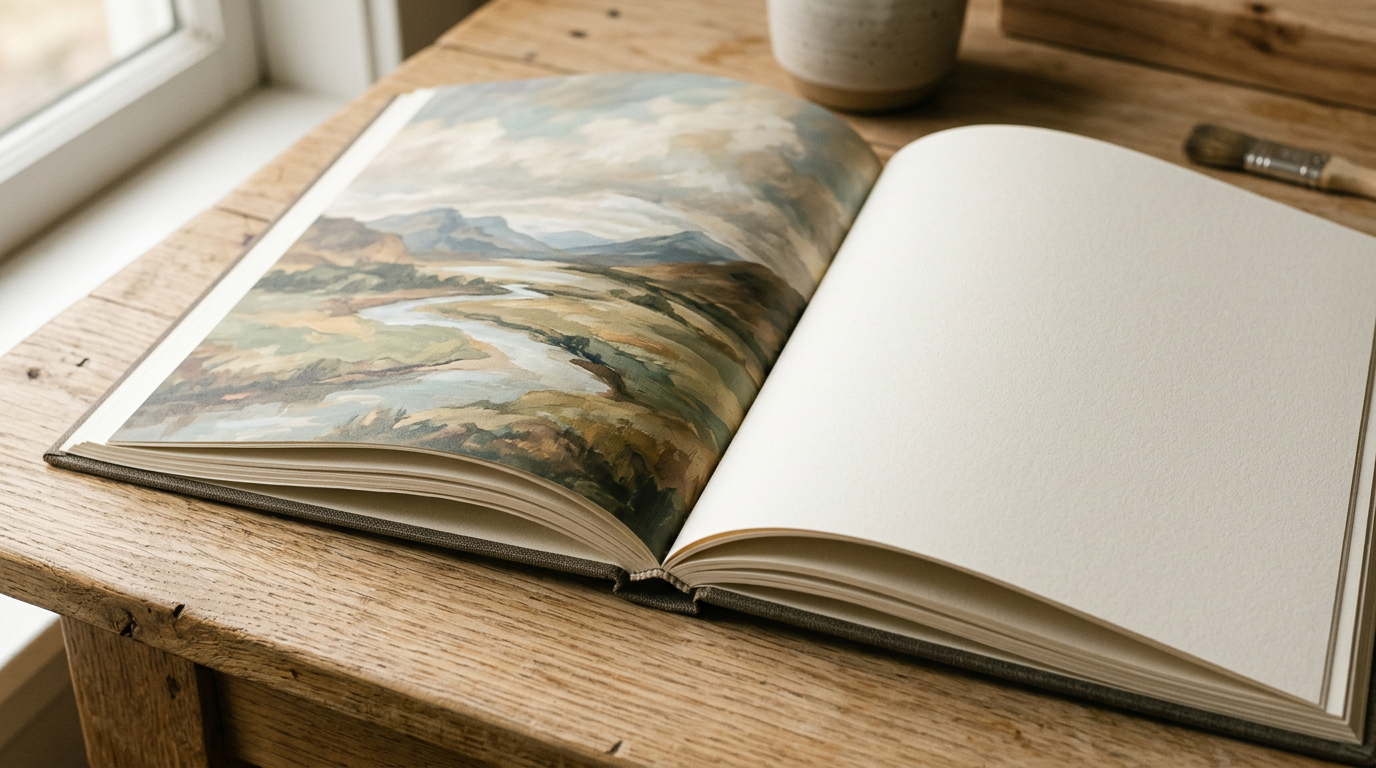
When you are working with an illustrated novel, graphic novel, or art book, full-page images in print books need their own layout logic. A full-page image is not a chapter opening with text beneath it. It is a standalone art plate that replaces the usual chapter text, often with no chapter heading, running header, page number, or chapter number on the page.
Treat the plate as an ordinary chapter and you can end up with a heading above the artwork, an image constrained to the text column, or a page that looks fine in the editor but fails when rendered as a paperback PDF.
Word processors are especially awkward here. They are built around paragraphs and inline images, not pages that temporarily become a full-bleed illustration. The practical answer is to plan image pages as part of the book structure before you export.
Understanding Full-Page Image Structure
Before you format anything, decide what job each image page has. A full-page plate may sit between chapters, open a section, create a facing-page spread, or provide a pause in an illustrated narrative.
For a print-ready plate, you usually want these conditions:
- The image occupies the whole page, either cropped to fill it or fitted within it without distortion.
- No chapter title, chapter number, running header, footer, or folio appears over the image.
- The page remains part of the paperback page count, even though it contains no prose.
- The image is placed deliberately on a left- or right-hand page when it needs to face a specific chapter.
That last point matters more than it first appears. Paperback printers calculate spine width from the final page count and paper stock, not from your word count. An art plate is still a page. Add six plates to a book and your cover calculation may need to change.
If you are still estimating the project, Pendrilo’s free publishing tools include a words-to-pages estimator and a KDP cover calculator. Use them for early planning, then replace the estimate with the page count from your finished interior PDF.
Building Full-Page Images in Print Books in Pendrilo
In Pendrilo, make a full-page image as its own Body chapter using the dedicated preset. Do not create a normal chapter and try to hide its heading with invisible text or manual workarounds.
Step 1: Add a Full Page Image chapter
In the chapter sidebar, open the + menu for the Body section and choose Full page image. This creates a chapter with the full-page-image subtype rather than a standard prose chapter.
The chapter list identifies these plates with an image glyph instead of an ordinary word count. In the chapter settings, the Body chapter style can also be switched between a standard chapter and a full-page image if you need to change your mind later.
Step 2: Upload and insert the image through the editor
Open the new image chapter and use the editor’s image button to upload and insert the artwork. Pendrilo’s export system uses images uploaded into the book. It does not fetch an externally linked image file during PDF or EPUB generation, so do not rely on a remote image URL.
Use the final artwork where possible. If you are drafting before the illustration is ready, label the chapter clearly in its title for your own reference, then replace the placeholder with the finished uploaded image before proofing.
A full-page image chapter with no image inserted does not create a blank art page. It renders as a normal chapter instead. That is helpful while drafting, but it also means you should confirm every intended plate actually contains its image before export.
Step 3: Choose Fill or Fit
Open the per-chapter settings and set Image fill.
- Fill is the default. Pendrilo crops the image to cover the page at the exact trim aspect ratio. This is usually right for edge-to-edge art, photographs, and intentional full-page composition.
- Fit keeps the entire image visible and centers it on the page. If the image aspect ratio differs from the page, empty bars appear on one axis.
Do not use Fit as a substitute for preparing your art correctly. It is useful when every part of an illustration must remain visible, but it can look accidental in a print book if the surrounding space was not designed as part of the page.
Full-page plates do not consume a “Chapter N” number in Pendrilo. The page counts physically in the book, but the next prose chapter retains the chapter numbering you expect.
Practical Image Specifications for Print
Prepare artwork at the final output size before upload. Enlarging a small image at the end of the process cannot add detail, and it often makes soft edges and compression artifacts obvious in print.
- Resolution: Aim for 300 DPI at the final printed size. For a 6 × 9 inch page without bleed, that is 1800 × 2700 pixels.
- Bleed: If the art must run to the edge of the trimmed page, enable Interior bleed (KDP spec) in Book details. Pendrilo makes the PDF sheet 0.125 inches wider and 0.25 inches taller than trim. The extra area is for the top, bottom, and outer edge; the binding edge does not need bleed.
- Bleed dimensions: A 6 × 9 inch page with this bleed needs art that can cover 6.125 × 9.25 inches. At 300 DPI, that is at least 1838 × 2775 pixels before allowing for any crop.
- File format: JPEG is generally suitable for photographs and detailed painted art. PNG can be useful for line art or illustrations with flat color. Pendrilo also accepts GIF and WEBP uploads, but use a format that preserves the quality of your original artwork.
- Color: Keep a high-quality master file. Print-on-demand services commonly accept RGB PDFs, but colors can shift on paper. Order a proof if exact color matters to the project.
Bleed does not change the interior page count or spine width. It changes the physical PDF sheet around the trim area so the printer can cut into artwork without leaving a thin white edge.
Save the full-resolution source file outside your manuscript project as well. The image inside a book is for layout and export; your master is what you will need for a revised edition, a different trim size, or a hardcover layout later.
Handling Page Breaks and Recto-Verso Logic
Illustrated books often use a plate as part of a spread. A classic arrangement places the image on the left-hand verso page and starts the following chapter on the right-hand recto page.
In Pendrilo, a full-page image plate placed before a chapter can land on the facing verso when that following chapter is set to start on a right-hand page. Use the chapter’s Start on right-hand page setting for the prose chapter when the spread matters. Then inspect the actual paperback proof rather than assuming the placement from the chapter list.
Do not add empty chapters just to force pagination until you have checked the PDF. A deliberately blank page may be appropriate in a particular design, but it should be a design decision, not a workaround for an unverified export.
For every image plate, check these questions:
- Does it face the intended page?
- Does the next prose chapter start on the correct side?
- Has the added page changed the final page count?
- Does the revised page count still match the spine width in your cover file?
If the answer to the last question is no, update the cover calculation and rebuild the wrap. KDP checks the cover against the uploaded interior, so an otherwise good cover can fail simply because the spine was measured from an earlier page count.
Chapter-Opening Art Is a Different Feature
A full-page image chapter is for a page that contains artwork only. If you want an illustration behind the opening pages of a prose chapter, use Pendrilo’s separate chapter-opening background feature instead.
You upload this artwork from the chapter settings. In the paperback interior, it can span the chapter-opening spread: art on the facing left page and a lighter version behind the text on the chapter’s first right-hand page. You can adjust the strength independently for each side.
This is print-only. EPUB readers reflow text and do not have fixed spreads, so chapter-opening background art is not included in EPUB exports. A full-page image plate behaves differently: the EPUB shows the whole image as a regular image page, without a fixed print page to crop or fill.
Keep the two effects separate in your planning notes. A plate interrupts the text flow with a dedicated art page. Opening background art decorates the start of a prose chapter.
Exporting and Verifying the PDF
Use the paperback previewer or the actual paperback interior PDF as your final source of truth. The live editor preview is useful for drafting, but fixed-page details such as folios, recto starts, and the final page count belong in the PDF proof.
- Open the paperback preview and inspect every image plate at full size.
- Confirm that the image fills or fits the page as intended, with no unexpected distortion.
- Check that no running header, page number, chapter heading, or “Chapter N” appears on the plate.
- Review the spreads before and after each plate, especially where an illustration is meant to face a chapter opening.
- Record the final interior page count and use it to verify your KDP cover spine calculation.
- Download the final interior PDF and run KDP’s Print Previewer before publishing.
For bleed interiors, choose KDP’s bleed option during paperback setup. The printer’s preview is still worth checking because it is the last place to catch a misplaced image, a cover mismatch, or artwork that reaches the trim edge without the correct bleed setting.
Common Pitfalls and Solutions
The image has a chapter heading above it. The page was probably created as a standard chapter. Change its Body style to Full page image, or create a new Full page image chapter and move the uploaded image into it.
The image has white bars at the sides or top and bottom. Check Image fill. Fit preserves the full image and may leave bars; Fill crops to cover the page. If you use Fill, make sure the important visual details are not too close to the crop edge.
The image looks blurry in the proof. Replace it with a larger source image prepared for the final trim size. Check pixel dimensions, not only the DPI number embedded in the file.
The plate appears on the wrong side of the spread. Review the chapter’s Start on right-hand page setting and inspect the surrounding pages in the paperback previewer. Placement is determined by the real page flow, not by a chapter’s position in the sidebar alone.
The cover spine no longer fits. Recalculate from the final interior page count and paper selection. Image plates count as pages even though they add little or no text.
Keeping Track During Drafting and Revision
Use a consistent naming system while illustrations are still in production. Titles such as [Plate 01: Opening], [Plate 02: Bridge], and [Plate 03: Map] make it easier to discuss revisions with an illustrator or designer without losing the page’s position in the manuscript.
Keep a separate asset folder with matching filenames and a simple layout note for each plate: intended trim size, whether it uses bleed, Fill or Fit, and which chapter it should face. That small record saves time when you publish a revised edition or need to rebuild the interior for another trim size.
If beta readers need the manuscript before the artwork is final, use clear placeholder notes rather than half-finished images. Add the final uploaded plates during the layout pass, then proof the completed paperback PDF before you send the book to KDP.