Most KDP rejections aren't about your writing. They're about a margin that's an eighth of an inch too tight, or a PDF that didn't embed its fonts, or a page size that doesn't match the trim you selected. The print pipeline is unforgiving in boring, mechanical ways — and every one of those ways is knowable in advance.
This is the working author's guide to formatting a book for KDP print. By the end you'll know exactly what trim size to pick, how wide your margins and gutter need to be, when you need bleed (and when you don't), and what your final file actually has to look like. Get these right and your paperback passes review on the first upload.
Start with the trim size, because everything else depends on it
Trim size is the finished width and height of your printed book after the pages are cut. You set this first, before margins, before anything, because margin requirements change based on it.
For most novels and general nonfiction, **6" x 9" is the default and the safe choice.** It's what readers expect on the shelf, and it's a "regular" trim size, which matters for your wallet — more on that in a second. If you want a more compact, mass-market feel, 5" x 8" or 5.25" x 8" work well for fiction. Workbooks, journals, and anything with full-page layouts usually want 8.5" x 11".
Here's the money detail most first-timers miss: KDP splits trim sizes into "regular" and "large," and large costs more per page to print. **A trim size counts as "large" if it's wider than 6.12 inches or taller than 9 inches.** That means 6" x 9" sneaks in just under the line, but 6.14" x 9.21" — a common traditional-publishing trim — tips you into the higher-cost bracket and shrinks your royalty on every sale. If you don't have a specific reason to go bigger, staying at or under 6" x 9" keeps your printing cost down.
Two more things to settle now, because they affect your page count limits and your file:
- Ink and paper: black ink on cream paper is the fiction standard (cream is easier on the eyes for long reading); black on white suits nonfiction; color ink is for illustrated or photo-heavy books and costs considerably more.
- Page count fits the trim. Each trim/paper combination has minimum and maximum page counts. A 6" x 9" black-on-cream paperback, for example, runs from 24 up to 776 pages. You're unlikely to hit the ceiling with a novel, but it's worth knowing the limit exists if you're formatting something long.
A note on specs: KDP occasionally adjusts trim options, page-count limits, and printing costs. The numbers here are current as of this writing, but before you finalize, confirm against KDP's own trim size and printing cost pages — it takes two minutes and saves a rejection.
Margins: the single most common reason files get rejected
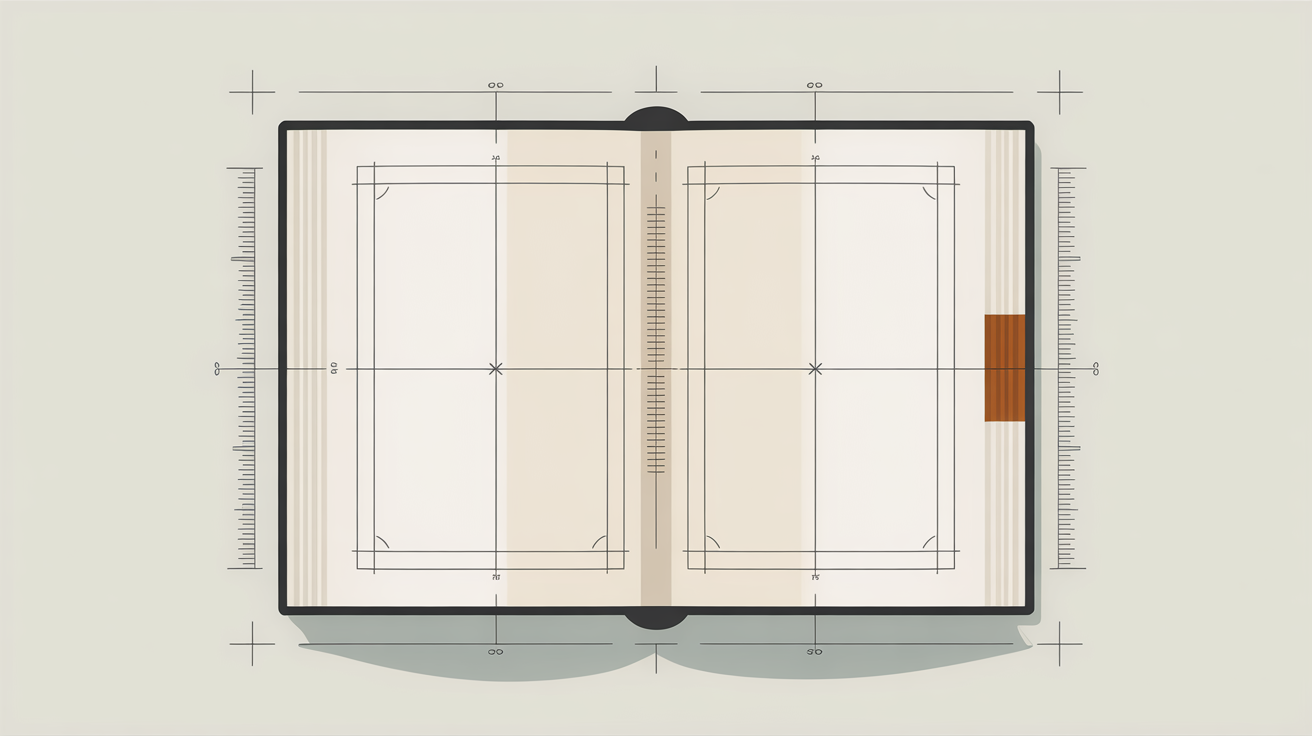
A margin is the empty space between your text and the edge of the page. Every page has three outside margins — top, bottom, and the outer side — plus one inside margin against the spine, called the gutter.
The outside margins are simple: at least 0.25 inches if your book has no bleed. You can make them bigger for aesthetics (1-inch top and bottom margins look generous and professional), but 0.25" is the floor.
The gutter is where people get burned, because it isn't a fixed number — **it grows with your page count.** The thicker the book, the more paper disappears into the spine when it's bound, so the more inside margin you need to keep text from curving into the crease. KDP's minimums:
- 24–150 pages: 0.375" gutter
- 151–300 pages: 0.5" gutter
- 301–500 pages: 0.625" gutter
- 501–700 pages: 0.75" gutter
- 701–828 pages: 0.875" gutter
So a 280-page novel needs at least a half-inch gutter. Set it to the 24–150 minimum out of habit and your text will run too close to the spine, and KDP may flag it. Match the gutter to your actual page count and this whole category of problem disappears.
Bleed: you probably don't need it (but know the rule)
Bleed is when an image, background color, or graphic runs all the way to the edge of the page with no white border. Plain-text novels don't use it. **You only need interior bleed if you have images or backgrounds that should touch the page edge** — think photo books, illustrated children's books, or design-heavy nonfiction.
Two rules matter if you do need it:
- If even one page needs bleed, the entire file must be set up for bleed. You can't mix.
- Your page size grows to accommodate it. When KDP prints, it trims 0.125" off the top, bottom, and outer edge. So to make an image reach the real edge, you extend the page beyond the trim line. The formula: add 0.125" to the width, and 0.25" to the height (0.125" top + 0.125" bottom). For a 6" x 9" book, that means setting your page size to **6.125" x 9.25".**
And one spec adjustment: with bleed, your minimum outside margins go up from 0.25" to 0.375". The gutter stays the same as the page-count table above.
If your book is all text, ignore all of this. No bleed, page size equals trim size, done.
What your final file actually has to be
You've laid the book out correctly — now it has to leave your software as a file KDP can print. The non-negotiables:
- A print-ready PDF. This is the reliable format for paperback interiors. Bleed is only supported in fixed-format files like PDF, which is another reason text-only books are simpler.
- All fonts embedded. Embed your fonts in whatever program you're using before you export. Un-embedded fonts are a classic silent failure — the file uploads, then the text reflows or substitutes wrong on KDP's end.
- Images at a minimum of 300 DPI. Anything lower prints visibly soft. KDP suggests staying at or under 600 DPI to keep file size manageable; above that, very large files can stall during processing.
- Page size matches your declared trim (or your trim-plus-bleed dimensions if you're using bleed). A mismatch here is an instant rejection.
The proof copy is not optional
Here's the step that separates a clean launch from a public embarrassment: **order a physical proof before you publish.** What looks perfect on screen reveals its sins on paper — a gutter that's tighter than you thought, a chapter heading sitting too low, a widow line stranded at the top of a page. The screen lies; the printed proof tells the truth. Hold the actual book, read a few chapters, check the spine and the margins with your hands. Then publish.
A pre-flight checklist
Before you upload, run through this:
[ ] Trim size chosen, and you know whether it's "regular" or "large"
[ ] Ink/paper selected; page count within that combination's limits
[ ] Outside margins at least 0.25" (0.375" if using bleed)
[ ] Gutter set to match your actual page count
[ ] Bleed handled correctly — or confirmed you don't need it
[ ] Exported as PDF with all fonts embedded
[ ] Images 300 DPI or higher
[ ] Page size matches the declared trim
[ ] Physical proof ordered and inspected
Formatting a book for KDP print isn't creative work — it's a checklist. The authors who get rejected are the ones who guessed at a number. The ones who pass on the first try simply matched the specs. Now you have them.
If you'd rather not manage trim sizes, gutters, and bleed math by hand, a dedicated formatting tool handles the typesetting and export to print-ready PDF for you — Pendrilo does this alongside the rest of your writing pipeline, so the manuscript you drafted is the file you upload. Either way, the specs above are the ones that decide whether your book prints clean.